
You can turn on or modify automatic replies.
- Sign in to Outlook Web App.
- On the nav bar, choose Settings > Set automatic replies.
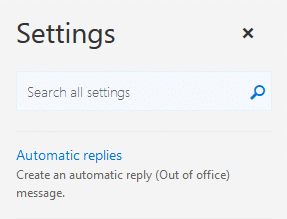
3. Use the following information to help you set up your automatic reply.
Don’t send automatic replies, select this option to turn off automatic replies.
Send automatic replies, select this option to turn on automatic replies.

Send replies only during this time period
Select this check box, and then set a start time and end time to control when automatic replies are sent. If you don’t set a time period, your automatic reply remains on until you turn it off. And you’re reminded you automatic replies are turned on each time you sign in to your mailbox.

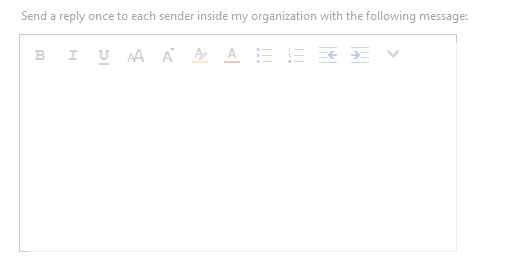
Send a reply once to each sender inside my organization with the following message
Use the text box to create a message that is sent only to senders who are inside your organization. This option may not be available.
Send automatic reply messages to senders outside my organization
Select this check box if you want automatic replies to be sent to senders outside your organization.
If you select the check box to send automatic replies to persons outside your organization, two other options are made available. Choose one of the following:
- Send replies only to senders in my Contacts list
Select this to limit automatic replies to senders who are in your Contacts folder. Senders who aren’t in your Contacts folder won’t receive the automatic reply.
- Send replies to all external senders
Select this to send your reply to all senders outside your organization.
Send a reply once to each sender outside my organization with the following message
If you select Send replies to all external senders, in the text box type the reply message you want sent.

Finally, click OK to save the changes.
0 Comments